Related lists:
Click here to see a list of sites where you can promote free books at no cost.
Click here to see a list of sites where you can promote discounted books at no cost.
In some cases, as you can see, I’ve made notes about certain useful-to-know details. If you have additional information about any of these sites, feel free to share it in the comments. It would also be great to hear if you have tried any of them, and how they have worked for you.
Please let me know if you find any broken links or outdated info, or if you know of any paid promo sites for free books that I have not listed. I will try to maintain this list and keep it as thorough and accurate as possible!
[googleapps domain=”docs” dir=”spreadsheets/d/13c9hQxK4I9M9YBIPuMbIuBrNFI4P-C25Yersy6uiJwA/pubhtml” query=”widget=true&headers=false” width=”100%” height=”1000″ /]
Related lists:
Click here to see a list of sites where you can promote free books for a fee.
Click here to see a list of sites where you can promote discounted books at no cost.
In some cases, as you can see, I’ve made notes about certain useful-to-know details. If you have additional information about any of these sites, feel free to share it in the comments. It would also be great to hear if you have tried any of them, and how they have worked for you.
Please let me know if you find any broken links or outdated info, or if you know of any paid promo sites for free books that I have not listed. I will try to maintain this list and keep it as thorough and accurate as possible!
[googleapps domain=”docs” dir=”spreadsheets/d/13MlDfjssVB6hC5MUXmLQz3jCvcaVGix5lTgnvZQbIdc/pubhtml” query=”gid=1932218644&single=true&widget=true&headers=false” width=”100%” height=”1000″ /]
*Want to save some time? Let me submit your free book to ALL of the highlighted sites for you. This service will only cost you about as much as a cup of coffee! Click here to sign up or find out how it works.
Every once in a while, something comes along that changes things for the better.
And in the world of writers, this is especially welcoming, because we all know just how much sweat, courage and persistence it takes to write a book and then release it into the world. Today I’m pointing you toward a new website which I hope will help writers brainstorm stronger characters, craft deeper, more compelling plots, and teach us how to be more effective with our description so we draw readers in. One Stop For Writers is a collaboration between Becca Puglisi and Angela Ackerman, authors of The Emotion Thesaurus, and Lee Powell, creator of Scrivener for Windows. This powerhouse online library is filled with one-of-a-kind descriptive thesaurus collections, tools, tutorials and much more, all geared to provide the resources you need to strengthen your prose and write more efficiently.
Want to check One Stop For Writers out?
Hop on over to Writers Helping Writers for their Launch Week festivities (October 7-14th)! If you know Angela, Lee and Becca already, you probably can guess there will be some great prizes, and probably a bit of paying-it-forward too.

I first heard about Books Butterfly a couple months ago on Readers in the Know (an excellent site for authors; it has a handy chart showing dozens of different book promotion sites and what they offer). I was looking for new places to promote my books, and I hadn’t heard of Books Butterfly before. I searched online and found very little about it apart from their own website and one conversation on Kboards. But the little I heard was good, so I decided to give it a try.
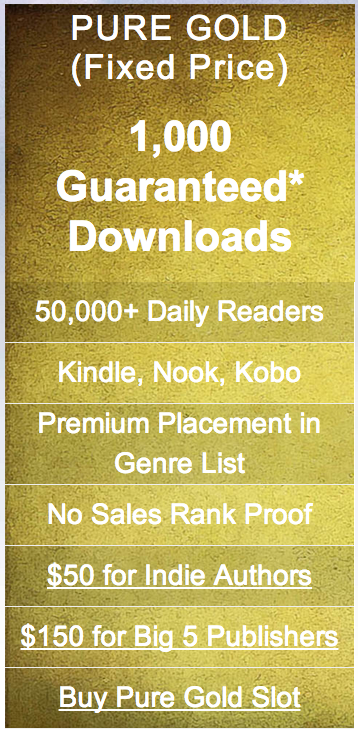 Books Butterfly offers several different packages for authors. They are unique in that they guarantee a certain number of downloads, depending on which package you buy. I decided to try the “pure gold” package, shown at right. It cost $50, and naturally I was worried that it wouldn’t end up being worth it. After all, that’s a lot of money to pay just to get a thousand people to download a free copy of my book! Books Butterfly promises that if you don’t end up getting that many downloads, they will refund a percentage of your money based on the percentage of the promised downloads you didn’t get. So from that perspective, I was confident I would get what I was paying for. But what I was really wondering was whether all those free downloads and the increased exposure would lead to enough actual sales to make it worth the expense.
Anyway, I decided to go for it. I filled out the form on their site and received an email response less than an hour later. I’ve been quite pleased with Books Butterfly’s customer service and correspondence, so I’m going to include some of the text from our emails back and forth for you to see. The guy who I corresponded with was Abhishek Singh.
Hi Annie
thanks for writing in.
A) Your book meets our acceptance criteria. We’ll be glad to run it. It looks lovely and the reviews are among the strongest I’ve seen in Fantasy.
B) We’ve sent you an invoice. It’s Pure Gold Slot. $50 for 1000+ Free Book Downloads. Downloads will be on Date of Promotion and Next Day.
We estimate free book downloads range to be: 800 to 1,500.
C) Please see terms below.
D) Slot will not be run until invoice is paid.
E) For Free Books, please let us know if the book is permanent free or was permanent free in the past.
F) There is a prorated refund. Refund is required in less than 5% of free book promotion slots. Please see terms below.
G) Refund does not apply if you are running promotions with other sites. We can only guarantee our own performance – we cannot and do not guarantee results for you if you are running with multiple sites.
We still guarantee 1000+ downloads. However, we cannot and do not guarantee performance of other sites.
******* Terms & Clarifications
Please read the following to get a clear understanding of what happens when we run your book.
*Terms & Details
1) We’ll run your book 2 days in a row.
Dates would be: May 22nd, 23rd.
You’ll get additional sales on 3 days.
Dates of Promotion: 22nd, 23rd.
Date after Promotion: 24th.
IN this case Sales will be 40-50% on Day 1, 40-50% on Day 2, 10% on Day 3.
3) There is a prorated refund for all fixed price slots.
Example: If you buy a Platinum 100 Slot ($100 for 100+ Sales) and get only 75 sales, we’ll refund $25.
Example: If you buy a Pure Platinum Slot ($100 for 2,000+ Downloads) and get only 1,500 free book downloads, we’ll refund $25.
4) Refund does not apply if you misrepresent your book’s sales history. In addition, there is no refund if you don’t disclose a free book is a permanent free book before slot is run. In addition, there is no refund if you don’t disclose that a paid book has been free, or at a cheaper price, in the last 12 months before date of promotion.
5) Refund does not apply if you are running with multiple promotion sites. We can only guarantee our own performance, not that of other sites.
6) We do not track sales or downloads. Free book downloads can’t be tracked. For sales we don’t use Amazon Associate tag so there is no way to track sales. You’ll have to check your KDP Stats. You can also ask us for expected range of downloads and purchase a book promotion slot based on that.
7) Please also read the Terms of Service included in the Invoice and on the Website. Using our service for book promotions constitutes acceptance of terms.
8) For purposes of the Prorated Refund, average sales during the last stretch when you were running no promotions is counted as the baseline. You can choose a 7 day stretch or a month stretch. However, it cannot be a stretch during which you ran a big promotion like Bookbub or ENT. It must be a normal stretch with no promotions. It is your responsibility to let us know if your book gets big sales spikes of 50-100 sales periodically because your mother’s cousin tweeted it or your dog instagramm’ed it.
9) Thanks for getting so far. 98% of authors are great. Unfortunately, there are a small 2% who try to game the system, and try to get refunds illegally. Hence the terms listed above. If you’re in the good 98% of authors, we’ll do whatever it takes to make you have a great promotion with results backed up with a prorated refund.
As you can see, some of what they said was redundant (that was the case on their website as well), but it all made sense. I received the invoice separately and paid it, then replied and said that I understood and agreed to their terms. After a couple more emails back and forth clarifying some of the details, I thought of something else and sent Abhishek this note:
I thought of two more details that might be useful to know for this promotion. My book, Prince of Malorn, is listed as Book III in the series, but the books can be read in any order, and each one can stand on its own. If there’s a way you can mention that in the promotion, it might encourage more people to buy it. Also, another book in the series (Annals of Alasia: The Collected Interviews) is permafree. It has been for a few months now, so I know it’s not eligible for one of your regular promotions. But another author mentioned on Kboards that you once listed their permafree novel along with a different one in the same series that they had paid to promote, and it led to increased sales of the other one. I’m not sure if you would want to consider doing something like that in this case, and I understand if not, but I thought I’d mention it just in case. The link to the permafree one (for Amazon’s stores in any country) is http://smarturl.it/AlasiaInterviews.
I was quite pleased when Abhishek wrote back and said:
1) It’s still eligible for our regular promotions. Peramfrees are fine. There’s no time restriction. However, let me just run it for you for free. It’s a novella so it might get just 200-500 downloads.
Wow, they would run it for free along with the other one! If that isn’t great service, what is?!
Well, I had my promotion this past weekend. Prince of Malorn was free from Friday to Sunday, with The Collected Interviews of course being permafree. Here are my results, including the number of downloads I got on other books. (All are in the same series except The Collar and the Cavvarach.)
|
# of Downloads:
|
Prince of Malorn (free)
|
P of M (paid)
|
The Collected Interviews (free)
|
TCI (paid)
|
In the Enemy’s Service (paid)
|
Prince of Alasia (paid)
|
The Collar & the Cavvarach (paid)
|
Borrows through KU/KOLL from all books
|
|
Friday 5/22
|
377
|
0
|
160
|
1
|
5
|
1
|
1
|
0
|
|
Saturday 5/23
|
275
|
0
|
148
|
1
|
1
|
0
|
1
|
2
|
|
Sunday 5/24
|
137
|
0
|
47
|
1
|
4
|
2
|
2
|
0
|
|
5/25-5/28
|
4
|
1
|
39
|
0
|
0
|
1
|
2
|
4
|
|
total:
|
793
|
1
|
394
|
3
|
10
|
4
|
6
|
3
|
Sadly, my usual numbers (when I’m not doing any kind of special promotion) are usually just one or two sales or borrows a day from all my books put together. 🙁 So this shows you there was definitely a difference!
I was surprised and puzzled about a couple of things. The first was that I actually got some paid sales on my permafree book! How did that work? But I realized that it’s actually only free in Amazon’s US, Canada, and Netherlands stores (and possibly the UK – I couldn’t get pricing info there to show up for me). So, people must have bought it from other countries, which had never happened before with that book. The second surprising thing was that somehow there were some free downloads of Prince of Malorn even after the 24th, and I know I set it to go back up to the normal price ($3.99) on the 25th. Probably it had something to do with the fact that I live in Taiwan, and I’m not sure what timezone my KDP report uses, or whether it depends on the timezone customers are in.
Anyway, as you can see, I did not get a thousand downloads of PofM, but I did get over a thousand on the two free books put together. Since the Books Butterfly folks were running TCI for me for free, it would have seemed ungrateful not to include that in the total number and instead ask for some of my money back.
Deciding not to claim any money back, I emailed Abhishek to share my results and thank him. Here’s his reply:
Annie, really glad we could get you those downloads.
I was a bit aggressive with your book because the reviews were brilliant. Normally I would only have done Pure Silver ($25 for 500+ downloads). So really glad to see total downloads were 1,142. Thank you for being gracious and including the downloads of the free novella.
And also happy to hear you got sales of the other books in the series and some borrows.
My only regret is that I did not make much profit from this, but I did get lots of downloads, and hopefully they will eventually result in reviews and more paid sales of my other books, especially the ones in that series. So far I have been seeing residual effects in terms of slightly-higher-than-usual sales and borrows numbers, so that’s been nice. And I did make about $30 on the three days of the promotion, with about another $20 since then, so I’m coming out even.
Will I use Books Butterfly again? Honestly, I don’t think so. It was a pretty good experience, but by comparison, the last time I promoted a free book (In the Enemy’s Service) with Ereader News Today, it only cost me $20 and I got 1,849 free downloads and 18 paid ones in the first two days of my promotion. But I’m not sorry I tried Books Butterfly this time. It was worth finding out how it would go, and honestly, fantasy never sells as well as certain other genres. If you’ve written a romance or a mystery, it may do far better with them than my books did.
Have you tried Books Butterfly? Feel free to tell us about it in the comments. I would love to hear how your experience compares!

In my quest to publish my young adult novels and my students’ poetry anthologies (click on the cover pictures in the right sidebar to see the books in question), I struggled to forge a path through all the different sets of instructions I found online. In the end, I decided to take what I had learned the hard way and put together a step-by-step list, including what I consider the clearest and most useful advice from others on how to do each step. I hope this list will be helpful to others out there!
“Description” means a professionally-written back-cover blurb (not just a casual explanation of what the book is about). You should take the time to write a really good one, as this will have a big impact on whether potential customers choose to buy your book. I’ve compiled some useful advice about blurb-writing here on my blog.
For the “Publishing Rights” part, if this is a book you’ve written, you hold the rights.
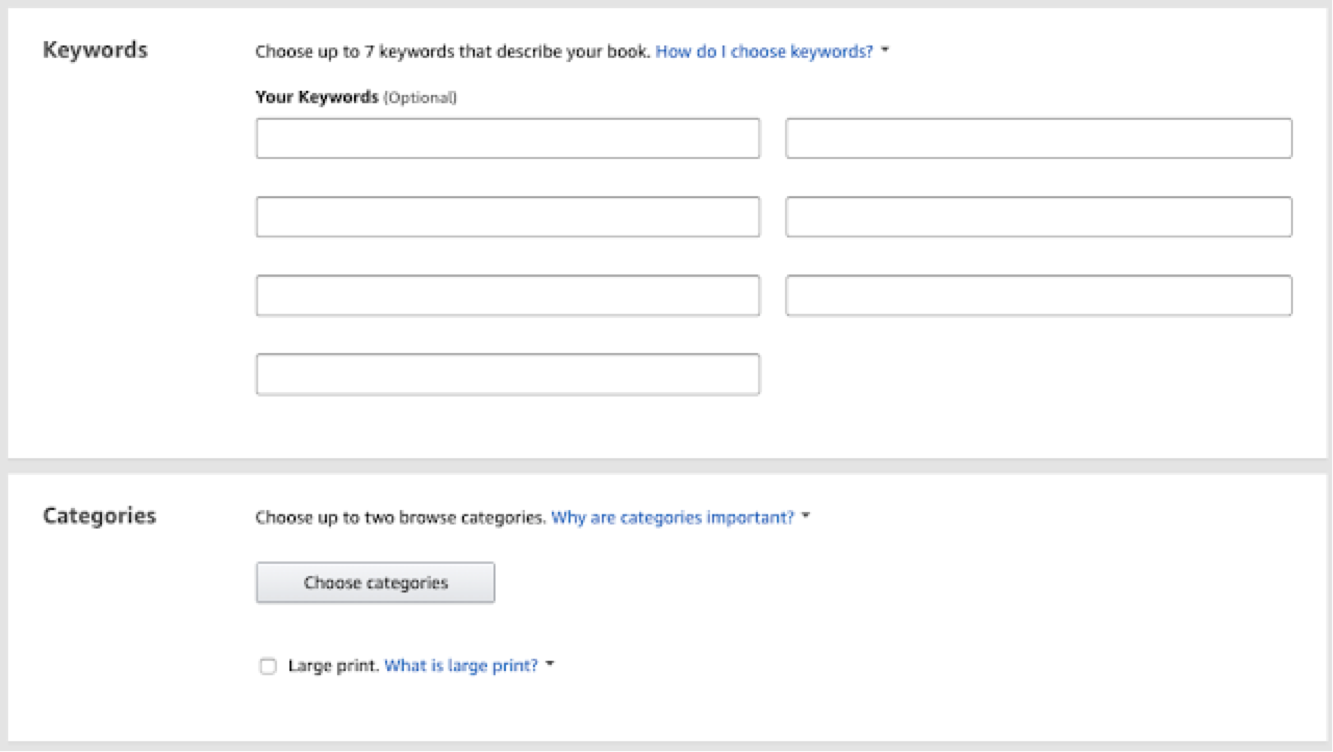
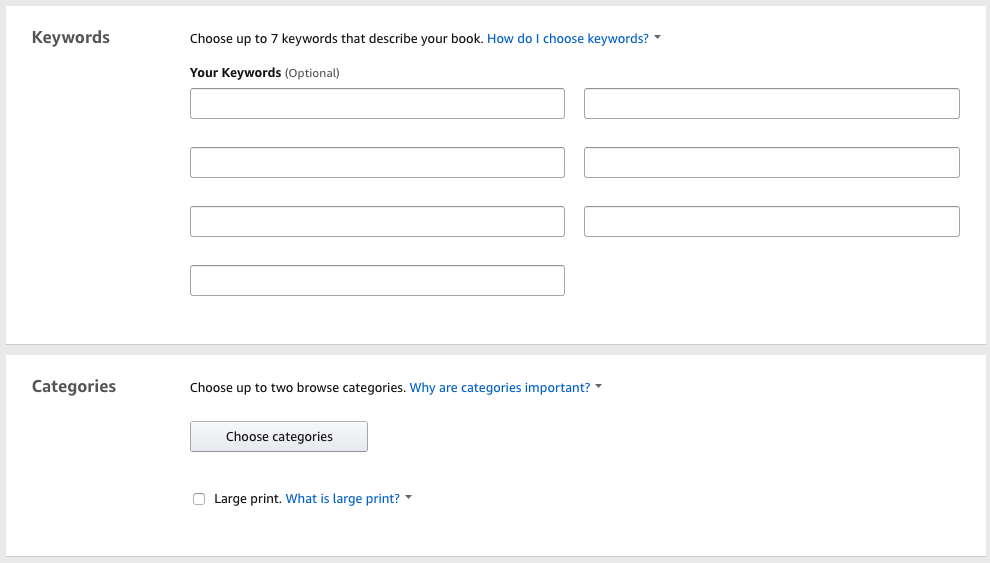
Before you choose any “Keywords”, I recommend first reading this article about how to pick good ones.
Be as specific as you can about your book’s “Categories”. The more specific you are, the easier it will be for potential customers to find it. If your book is for children or youth, I recommend filling in the optional age and grade range info – again, it will make it easier for people to find what they’re looking for. This article talks about choosing good categories for Amazon.
Before you decide if you’ll release your book now or later (under “Preorder”), you may want to consider how you plan to market your new release. It won’t sell itself, unfortunately! For example, you may want to connect with other authors and readers on social media. Facebook author groups can be a great place to get tips from others about what promotional strategies have worked for them, and even in arranging a blog tour to advertise your new book. Setting up a book for preorder can be helpful in this case, since Amazon will provide you with a preorder link that you can use in any posts you create.
Go on to the “Kindle eBook Content” tab.
When you get to “Digital Rights Management”, experts recommend not enabling it. Yes, there’s a greater chance that people may obtain your book illegally, but DRM also hinders readers who have purchased it from reading it on multiple devices, and thus may discourage them from buying it in the first place. Most writers agree that it’s worth it not to enable DRM. (This article explains more about that.)
If you’re using a Mac, click here for the instructions on how to upload your document to the KDP site. You just need to read the first part that says, “Creating a Zip File for Images and an HTML Book File”. However, it says to save your Word document as a webpage, filtered. Macs don’t actually offer that option, so just save it as a webpage.
In the “ISBN” section, bear in mind that you don’t need one to publish a Kindle book. This article might help you decide if you want to buy one.
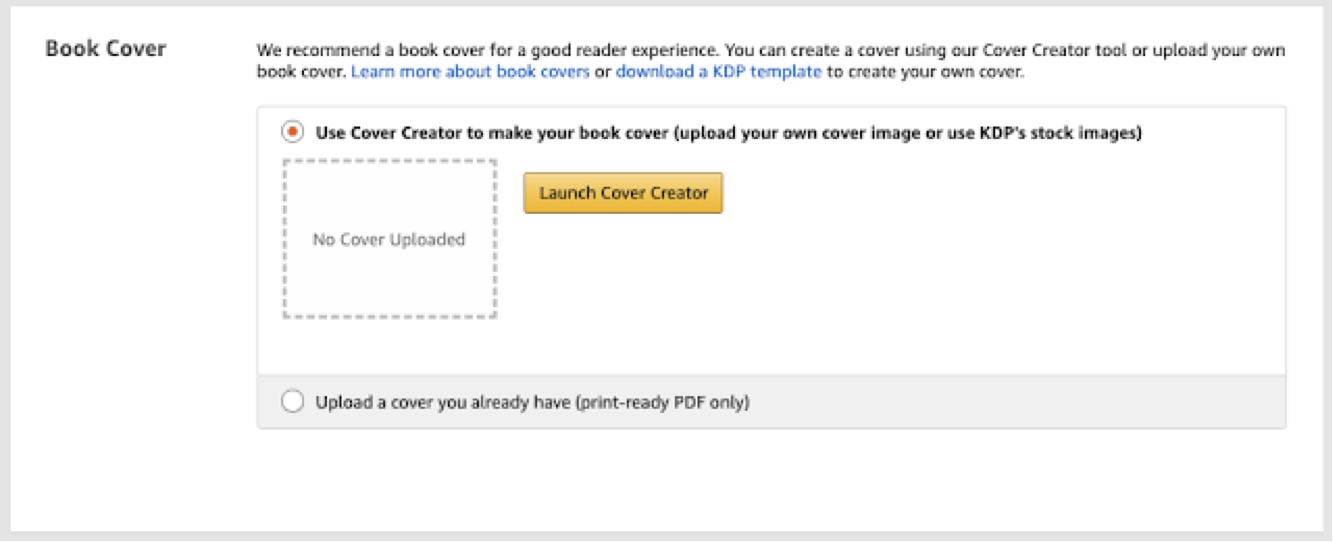
When you have uploaded your cover and completed everything else on that page, go to the “Kindle eBook Pricing” tab.
Choose whether to enroll your book in KDP Select. If you choose to do this, you are promising that for the next 90 days, you will not make your book available in digital format anywhere online except Amazon. This article lays out some pros and cons of “going exclusive” with Amazon.
In the “Territories” section, you automatically hold worldwide rights to your book unless you’ve ever specifically sold or given those rights away.
For “Royalty and Pricing”, here’s an article with some thoughts about pricing your ebook.
In “Matchbook”, your book is only eligible for Kindle MatchBook if you also have it for sale in paperback format. You can choose to make the ebook available for a discount (or even for free) to those who have bought the paperback from Amazon.
12.) Make sure you also click on “(your name)’s account” at the top right of the screen and check that you have entered the right bank account info and all the rest.
Many thanks to those whose websites, blogs, and good advice I borrowed from to create this list! I hope their input is as helpful to others as it has been to me.
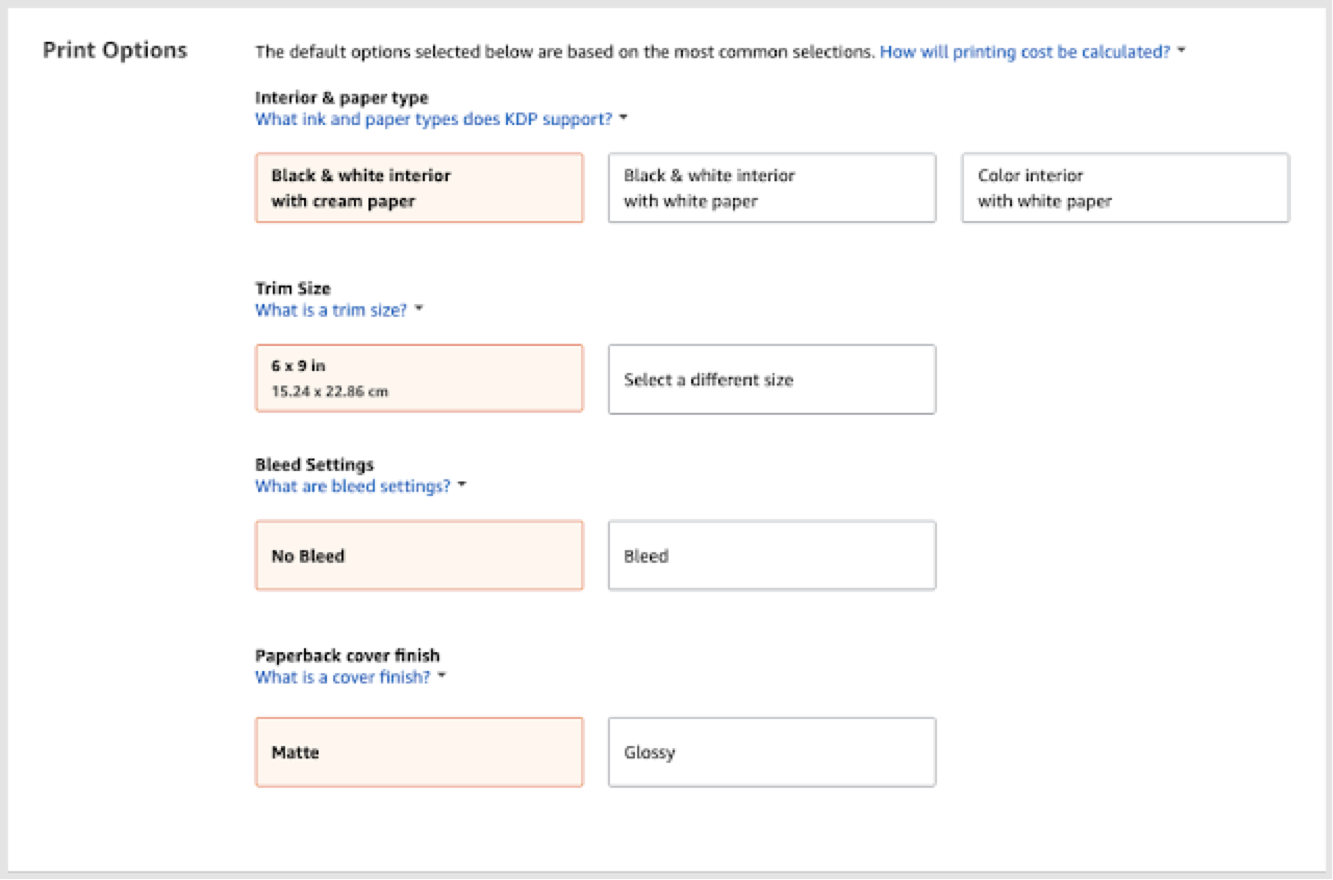
Want to publish your book in paperback as well? Click here to read my blog post on preparing your manuscript for paperback publication through KDP Print.
If you discover any broken links, outdated information, etc. in the above list, I’d appreciate your letting me know so I can keep this information as current and useful as possible. Thanks!